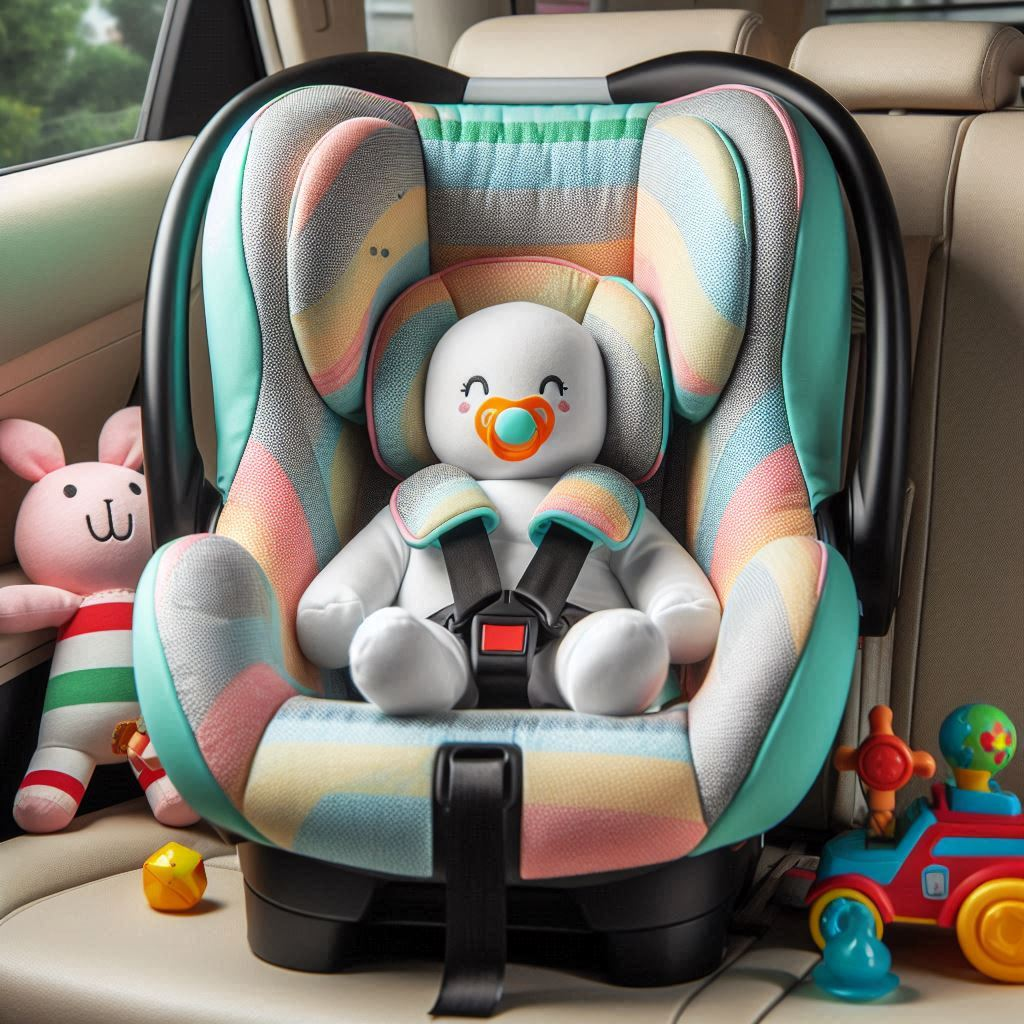
How to Install a Chicco Infant Car Seat
As a new parent, installing a car seat can feel like solving a complex puzzle. But don’t worry – I’ve been there, and I’m here to help you navigate this crucial task. Let’s dive into the step-by-step process of installing a Chicco infant car seat, ensuring your little one’s safety and your peace of mind.
Quick Answer
To install a Chicco infant car seat: 1) Choose the safest location in your car’s back seat, 2) Install the base using LATCH or seat belt, ensuring it’s level and secure, 3) Click the car seat onto the base, 4) Adjust the recline angle, and 5) Secure your baby with a properly adjusted harness.
Why Proper Installation Matters

Before we jump into the nitty-gritty, let’s talk about why getting this right is so important. I remember the first time I installed our Chicco car seat – I was a nervous wreck! But here’s the thing: a correctly installed car seat can be a lifesaver. Studies show that proper car seat use reduces the risk of injury in a crash by up to 82% for children. That’s huge!
Read more: Strawberry Banana Baby Food
My Personal Car Seat Journey
When my daughter was born, I spent hours poring over the manual and watching videos. I even had a certified car seat technician check my work. It might seem like overkill, but that peace of mind was priceless. Now, I’m excited to share what I’ve learned with you!
Step-by-Step Installation Guide
1. Read the Manual (Yes, Really!)
I know, I know – reading manuals isn’t exactly thrilling. But trust me, it’s crucial. Each Chicco model (like the KeyFit or NextFit) has its quirks. The manual is your best friend here. It’ll tell you about weight limits, installation angles, and safety features specific to your model.
2. Choose the Right Spot
Where’s the best place for your Chicco seat? The center of the back seat is usually your safest bet. It’s furthest from potential side impacts. If that’s not an option, either side of the back seat works too. Just keep it away from active airbags – they’re not infant-friendly!
Rear-Facing is the Way to Go
Always install an infant seat facing the rear of the car. It’s not just a suggestion – it’s the safest way for babies to ride. It protects their delicate head, neck, and spine better in case of a sudden stop or crash.
3. Installing the Base
Most Chicco infant seats come with a base that stays put in your car. Here’s how to get it in there:
- Position it right: Place the base where you want it and check if it’s level. Chicco bases usually have a handy bubble level indicator.
- LATCH it in: If your car has LATCH anchors (most newer cars do), use them! Clip the lower anchors to your car’s anchor points and tighten those straps.
- Seat belt method: No LATCH? No problem. Thread the seat belt through the base’s belt path and buckle up. Make sure to lock the seat belt for a secure fit.
- Check for wiggle: Once installed, the base shouldn’t move more than an inch in any direction. Give it a good shake to test.
4. Attaching the Car Seat
Now that your base is rock-solid, let’s get that seat clicked in:
- Line it up: Position the car seat over the base, rear-facing of course.
- Click it: Lower the seat onto the base. You should hear a satisfying ‘click’ when it’s in place.
- Double-check: Give the seat a tug. If it’s properly attached, it won’t budge.
- Angle check: Use the level indicator on the car seat to make sure it’s reclined correctly. The bubble should be between those marked lines.
5. Securing Your Precious Cargo
Getting your baby safely into the seat is just as important as installing it correctly:
- Loosen up: Before you put your baby in, loosen those harness straps.
- Snug as a bug: Place your baby in the seat, making sure their back and bottom are flat against it. No slouching!
- Buckle up: Secure the harness and chest clip. The straps should lie flat – no twists allowed.
- Tighten right: Pull the adjustment strap to tighten the harness. It should be snug enough that you can’t pinch any slack in the strap at the shoulders.
- Clip it: Position that chest clip at armpit level. It keeps the harness where it needs to be in case of a crash.
6. Regular Check-Ups
Installing your Chicco seat isn’t a one-and-done deal. Make it a habit to check the installation regularly. Cars vibrate, seats shift, and babies grow. A quick check each week can catch any issues before they become problems.
Troubleshooting Common Hiccups

Even with the best instructions, you might hit a snag or two. Here are some common issues and how to fix them:
Wobbly Base Blues
If your base feels unstable:
- Double-check those LATCH connections or seat belt path
- Tighten everything up
- If you’re using the seat belt method, make sure it’s locked
- A tightly rolled towel under the base can help achieve the right angle on tricky car seats
Read more: Asparagus Baby Food Guide
Harness Hassles
Harness too tight or too loose?
- Look for the harness release lever, usually at the front of the seat
- Adjust straps while your baby is in the seat for the best fit
- Remember, you shouldn’t be able to pinch any slack in the strap at the shoulders
Comfort Concerns
If your baby seems uncomfortable:
- Check that all padding and inserts are in the right spots
- Make sure the harness isn’t twisted
- Adjust the recline angle if needed – some Chicco seats have multiple recline positions
Phew! We’ve covered a lot of ground here. Installing a Chicco infant car seat might seem daunting at first, but take it step by step, and you’ll be a pro in no time. Remember, the goal is to keep that precious cargo of yours safe and sound.
Don’t hesitate to reach out for help if you need it. Many fire stations and baby stores offer free car seat checks. And of course, always refer back to your trusty manual for model-specific details.
You’ve got this, parents! With your Chicco seat properly installed, you’re ready for all those exciting adventures with your little one. Safe travels!

Jessica Winter is a passionate parenting blogger with two years of experience guiding new and seasoned parents through the joys and challenges of raising babies. Her insightful posts blend personal anecdotes with expert advice to offer a warm and practical perspective on modern parenting.

